

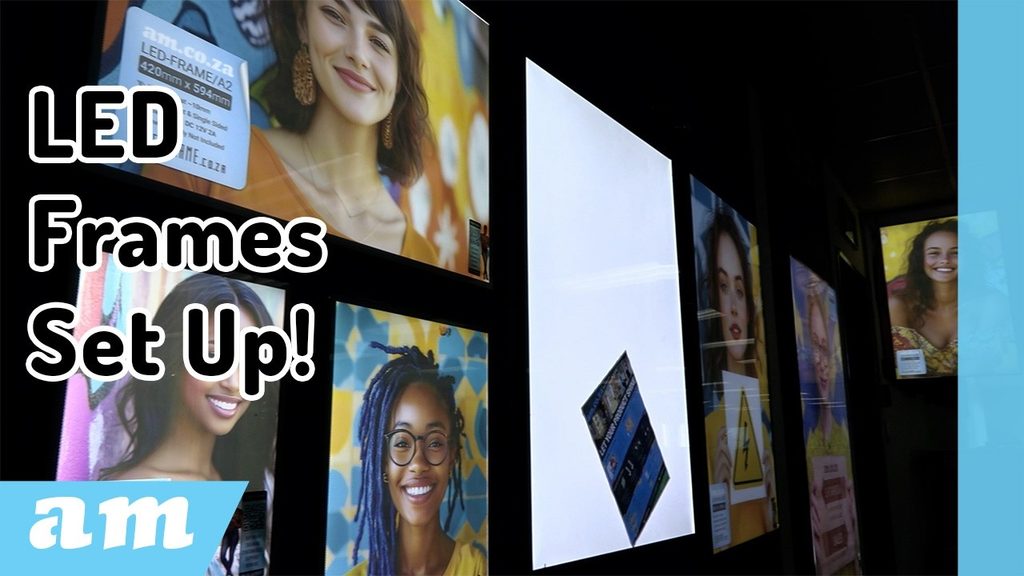
LED frames have become a really popular display option at AM.CO.ZA, and for good reason. They look great, make your graphics stand out and, best of all, they are fairly simple to install.
So, if you’ve just received your LED frame and you’re wondering how to get it onto the wall, here’s a quick guide.
Hanging the LED Frame
When you open the box, you’ll find the hanging brackets you need.
For the A2, A3 and A4 frames, you’ll use the 45° brackets. The A1, 600 × 900 mm and 800 × 1200 mm frames use the 90° brackets.
Start by turning the frame around and looking at the back. You’ll see the holding brackets. Slide these into position on all four sides of the frame, roughly where you want them.
Don’t tighten the screws completely straight away. Leave them slightly loose so you can move the brackets around and get them into exactly the right position. Once you’re happy with the positioning, tighten the screws properly so the brackets can’t move.
Do this on all four sides.
Now you can put your screws into the wall where you want the frame to hang. For the larger frames, simply slide the hanging brackets onto the screws until they click into place.
And that’s basically it. Connect the power, switch it on and your LED display is ready to go.
Connecting the Power
There is one important difference between the larger and smaller frames.
The A1, 600 × 900 mm and 800 × 1200 mm frames have a transformer built into the frame, so they can be connected directly to a standard 220V household power supply.
The A2, A3 and A4 frames, on the other hand, require a 12V power supply. Don’t worry if you don’t have one — AM.CO.ZA stocks the required power supplies as well.
Hanging the Frames from the Ceiling
You don’t always have to mount an LED frame directly onto a wall.
We also have hanging options that allow you to suspend your frame from the top or side. These are particularly useful for shops, showrooms, exhibitions and other areas where you want the display to hang from the ceiling.
The height is easy to adjust. Simply push and release the control unit to make the cable longer or shorter until the frame is sitting at the height you want.
Once it’s positioned correctly, connect the power cable. You can plug it in directly or use an inline switch if you’d like an easier way to turn the display on and off.
Using an LED Frame on a Desk
If you don’t want to hang your LED frame, there are desktop stand options available too.
For the A3 stand, screw the foot section onto the main bracket, then attach the bracket to the frame. Put the cover back on, connect the power supply and you’re ready to position it on your desk or counter.
The A2 stand is even simpler. Screw the main bracket into place and use the sliders to position the frame either horizontally or vertically.
For the A4 stand, the feet screw directly into the sliders, giving you a simple and stable desktop display.
Ready to Get Your Display Up?
LED frames are a simple way to make your posters, promotions and other graphics really stand out. Whether you want one hanging on a wall, suspended from the ceiling or sitting on a counter, there are options to suit different spaces and applications.
And if you’re not sure which frame, bracket or power supply you need, give the AM.CO.ZA sales team a call. They’ll be happy to help you find the right setup.
At AM.CO.ZA, we sell machines for you, we fix machines for you, and we teach machines for you.